Showing posts with label Nikon. Show all posts

Wednesday, March 14, 2018

Sports Lightning

These are me trying something new. I found these backgrounds for free use and thought I'd try to jazz up some sports photos. I cut the guys from their photos and pasted them on the background using Photoshop. I was happy with the results. Although, I think I could have faded the football player with his hands up ready to catch and the photo may feel not as hard. But that's a learning experience.

For just playing around though, I'm happy with the results. Definitely something I'd like to do more of in the future.


Of course, I couldn't decide on a color background for the football player. With the school colors it was hard to put him on the reddish background. What color do you like best?

Wednesday, March 7, 2018

Sheba for the New Year

Since Sheba did such an amazing modeling job for Christmas, I figured I'd do something small for New Years. She willingly, (and if I dare say, gladly) wore the head band I got her to say Happy New Year. She's such an amazing sport!

The first set of photos are done without the flash but with a little light by her to help brighten the room.
ISO 320 18mm f/5.6 1/6sec
The holiday season has worn her out! LOL! (I know how you feel dear.)
ISO 320 18mm f/5.6 1/6sec


ISO 320 18mm f/5.0 1/6sec

ISO 320 18mm f/5.0 1/6sec

ISO 320 18mm f/5.0 1/6sec

ISO 320 18mm f/5.0 1/6sec

The following photos are with flash. They have a bit of an airy feel to them. I'm not as big of a fan of these, but that may vary from person to person and what they like seeing.
ISO 320 18mm f/5.6 1/6sec

I tried something new with this next photo. It was to create a haze around the outside of picture. What did I use to get this look? A sandwich baggy. This photo is also WITHOUT the flash.
ISO 320 30mm f/5.6 1/6sec

This is the haze (with sandwich bag) with Flash.
ISO 320 30mm f/5.6 1/6sec

What do you think of the sandwich bag haze on the photo? It may not fit these photos, but it's something to experiment with. Do you enjoy these photos with Sheba? I will continue with different holidays with her. 

Wednesday, February 28, 2018

Winter it up

I had said I was going to try to winter up the Christmas tree pictures, and I have.

I'm on the fence about this method. Maybe it's me, because I know they aren't originally winter scenes. But this is also my first attempt at it and I'm sure there are a few things I could do to make it a touch better. I'll have to play with them in the future, but this is the first try.

I've provided the original photo below the winter version so you can see what I started with.

Scroll to the end as I've listed how I created the winter feel to the photos.


So how did I make wintery? 
1) Open the original image in Photoshop.

2) Click the Hue/Saturation button on the Adjustments tab above Layers.
 -- Click the pointing finger and select the color I want to turn white from the image.
 -- You'll see the selection bar between the bottom two color scales. Make sure to include the colors you want. If there's green and yellows, like in my first image, I moved the center scales to include those colors. 
 -- Then, slide the Lightness marker to the level of "white" to appear.

3) If you need to bring skin colors back: click to make a new mask (while in this layer) which is the box icon with circle in it. Make sure your foreground/background colors are black/white. Then Using brush in size to your face(s) go over the people to bring them back out.

**If you have colors that still bleed through that you want whiter, create a new Adjustment for Hue/Saturation as needed.

Add Snow: (I downloaded different brushes so I have them in my brushes.)
1) Add new layer (the icon that looks like a piece of paper with bottom left corner folded up).

2) Click Brush and selected brush type and size. Then clicked on image. (Don't worry if cover people, you can remove that!)

3) To touch up faces and where snow is falling -- Click 'Add Vector Mask' then click brush and use regular brush. Brush over where snow not to be.


I downloaded brushes from different sites. The site with many links I found is Creative Bloq. This snow brush is from Brusheezy.

Wednesday, February 21, 2018

Holiday Pet Photos

If you have pets, you just have to see if you can take photos. 

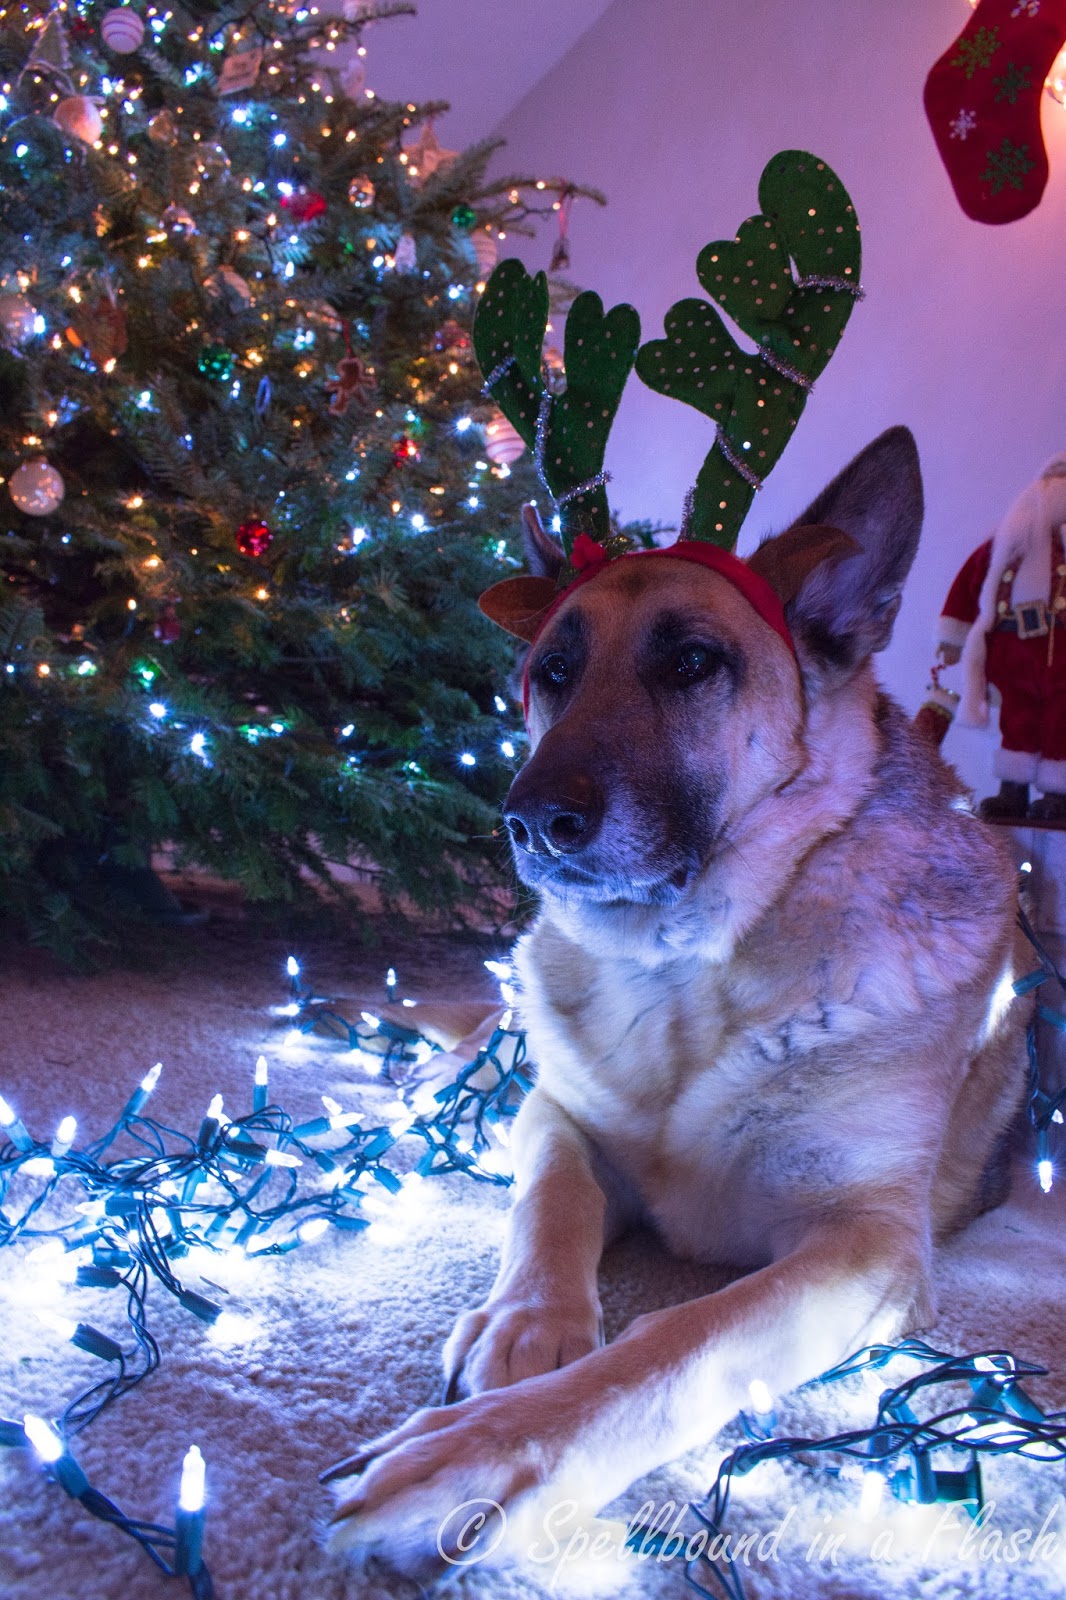
I needed a model and thought why not. Sheba turned out to be a perfect model. Sure, she fussed a little at first. But once she realized nothing was going to hurt her, and she got my undivided attention, she calmed and went with it.

Sometimes the sample photos turn out to surprise us. This image was taken on a whim to see if I could get a bit of blur in the background with Sheba's profile. I had an idea on the settings, but didn't know if it would turn out. The setting worked lovely for me. I left a blue tint to the photo because it didn't reflect off Sheba's fur and change her coat color.
ISO 400 38mm f/7.1 1/10sec


Below, you will see two sets of the same photos here. The first set I adjusted my White Balance Temp. The lights had a blue tint to their glow and did give a glow to Sheba's fur. To adjust for this, I moved the slider from the blue side toward the yellow side until the lights didn't leave the blue cast on Sheba. 

I've shared both, with the blue glow and without, so you can see the difference. I think it depends on your preference on which you like best.

I hope you enjoy Sheba's Christmas spirit in these photos.

ISO 400 21mm f/7.1 1/15sec

ISO 400 18mm f/7.1 1/15sec

ISO 400 18mm f/7.1 1/15sec

ISO 400 25mm f/7.1 1/15sec

ISO 400 25mm f/7.1 1/15sec

ISO 400 18mm f/7.1 1/15sec

ISO 400 18mm f/7.1 1/15sec

Now, with the Blue Christmas glow:

ISO 400 21mm f/7.1 1/15sec

ISO 400 18mm f/7.1 1/15sec

ISO 400 18mm f/7.1 1/15sec

ISO 400 25mm f/7.1 1/15sec

ISO 400 25mm f/7.1 1/15sec

ISO 400 18mm f/7.1 1/15sec

ISO 400 18mm f/7.1 1/15sec

Did you feel her excitement? I hope so.

And see the difference in the lights? Crazy, right!? Which do you prefer? It's something to always adjust the Temperature of the photos when looking at them. I know as a beginner, I didn't realize there could be such a difference. Now it's something I pay attention for and adjust right away. Always learning.